Roomba Not Charging? 7 Easy Fixes to Get It Running Again
Nothing is more frustrating than coming home expecting pristine floors, only to find your Roomba dead in the middle of the hallway or sitting on its dock with a lifeless battery. You bought a robot so you wouldn’t have to think about vacuuming, but now you’re stuck playing detective.
Don’t worry—most charging issues are surprisingly simple to fix. At RoboVacFix, we’ve seen everything from “dust bunnies blocking the dock” to “the cat moved the base station.” Before you go out and buy an expensive replacement battery, let’s walk through this step-by-step guide to get your Roomba back in action.
TL;DR: The Quick Fix
If you’re in a rush, try these three things first:
- Perform a Reset: Hold the CLEAN button down for 20 seconds to reboot the system.
2. Clean the Contacts: Wipe the metal charging points on both the Roomba and the dock with a dry cloth or a bit of rubbing alcohol.
3. Check the Dock: Ensure the power cable is plugged tightly into both the wall and the side of the charging base.
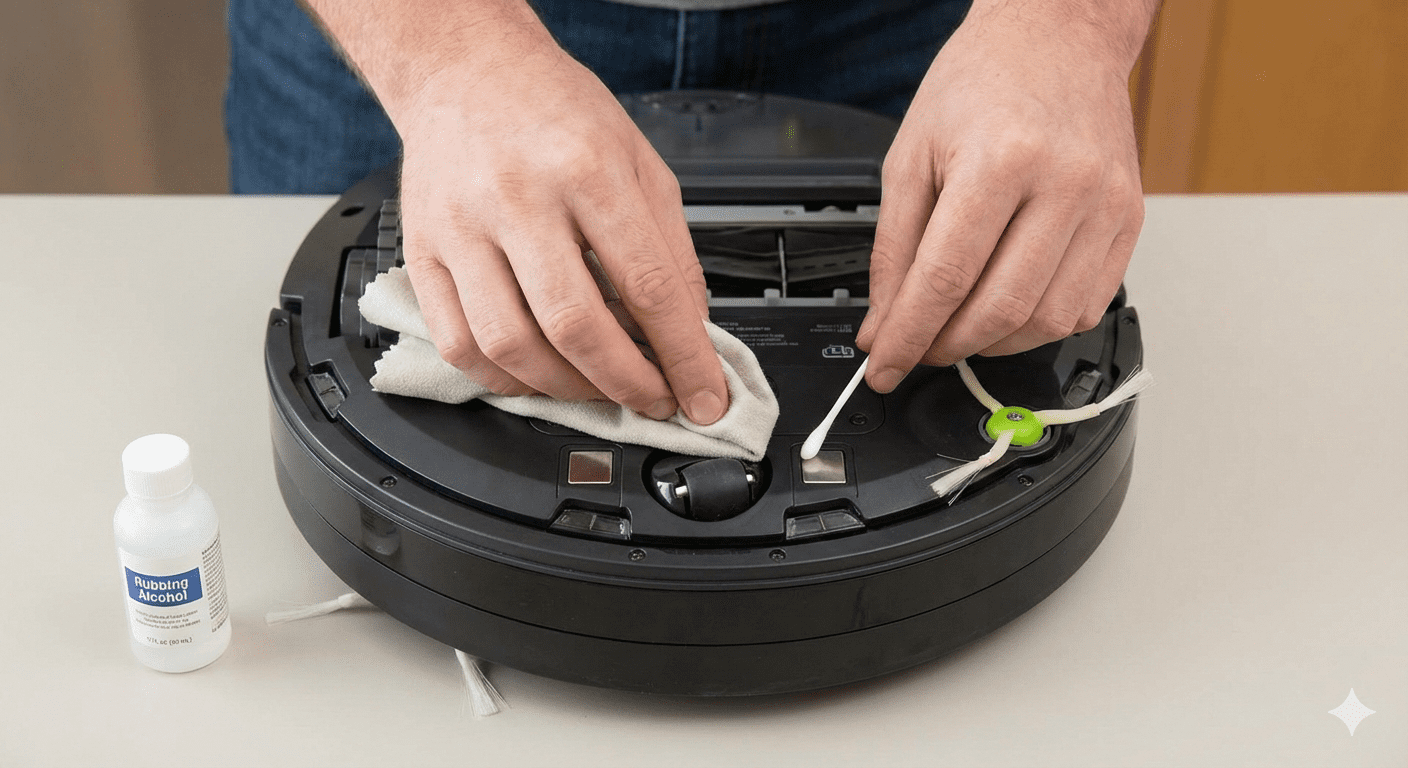
Step 1: Inspect the Charging Contacts (The #1 Culprit)
In 90% of the cases we see, the Roomba isn’t charging simply because it can’t “talk” to the dock. Over time, a thin layer of dust, pet hair, or even oily residue builds up on the metal charging contacts.
How to clean them properly:
Pro Tip: Don’t use water! Moisture and electronics are a bad mix, and it can cause corrosion over time.
Flip the Roomba over: Look for the two silver squares on the bottom.
Check the Base Station: Look for the two spring-loaded metallic strips on the dock.
The Magic Tool: Use a piece of melamine foam (Magic Eraser) or a soft cloth dipped in 70% isopropyl alcohol. Gently scrub the contacts until they are shiny.
Step 2: Verify the Power Source
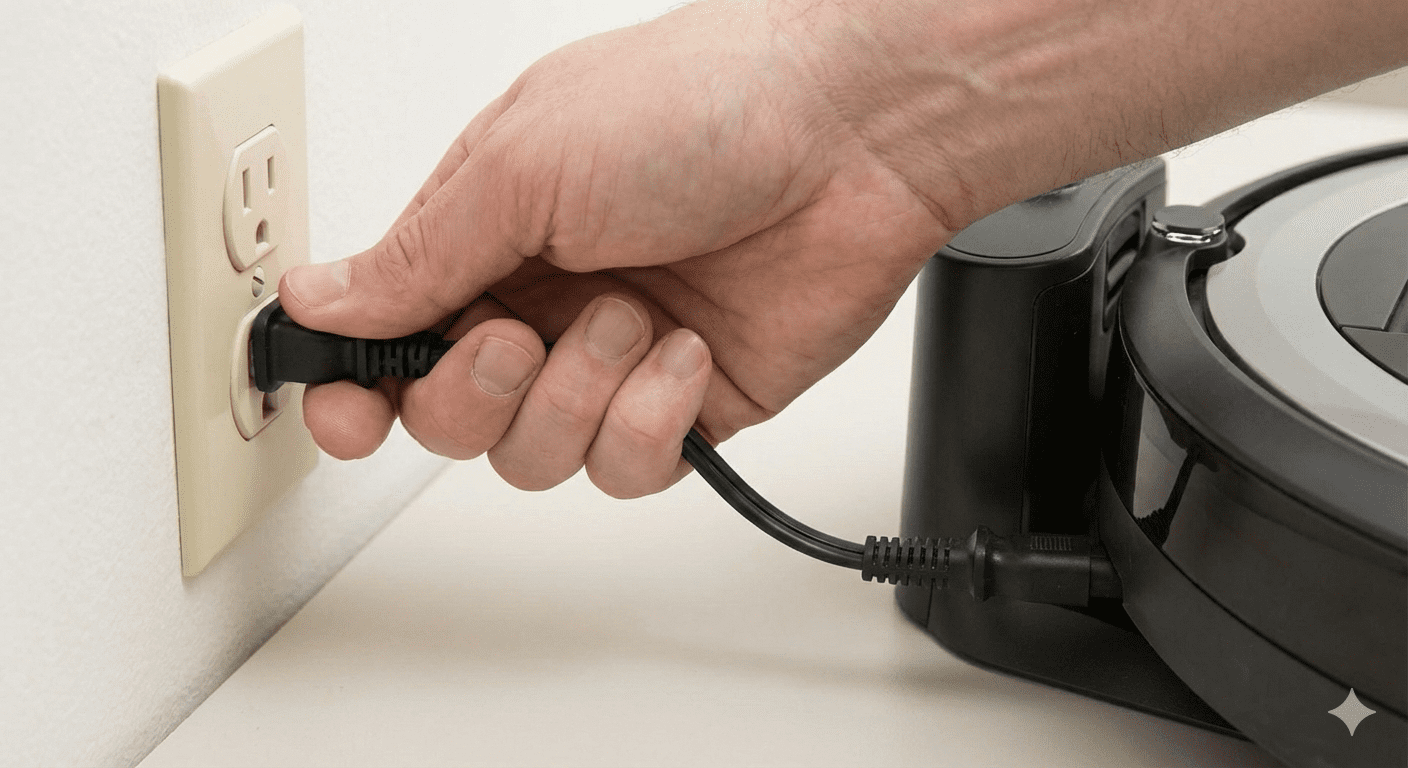
It sounds silly, but you’d be surprised how often a loose cable is the villain.
Cable Damage: Inspect the cord for any fraying or bite marks (looking at you, puppies). If the internal wires are damaged, the base won’t deliver enough voltage to charge the battery.
The “Wiggle” Test: Ensure the power cord is pushed firmly into the base station. Some models have the brick built-in, while others have a detachable cord.
The Outlet Check: Plug a lamp or a phone charger into the same outlet to ensure the wall socket hasn’t tripped a circuit breaker.
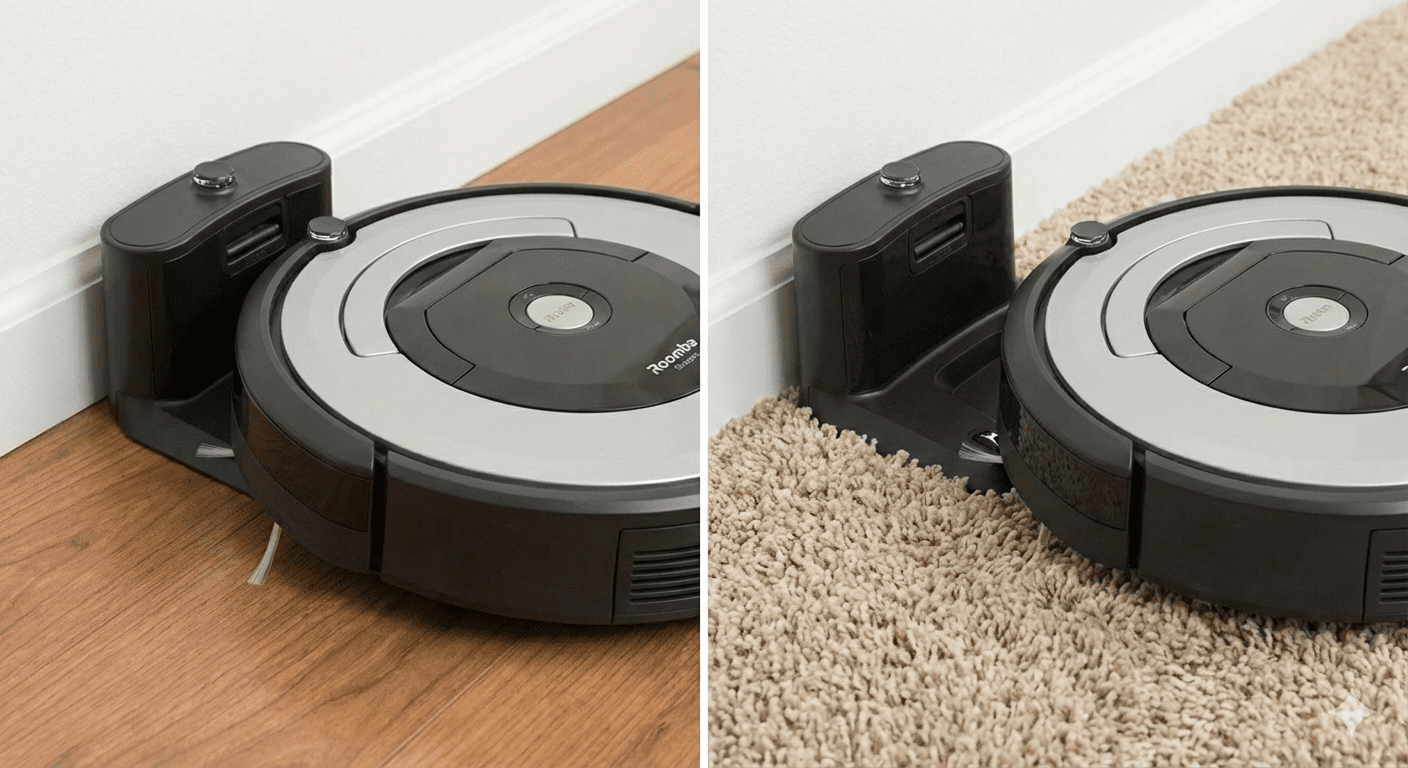
Step 3: Optimize Dock Placement
Roombas are smart, but they can be defeated by a thick rug. If your charging dock is sitting on a high-pile carpet, the weight of the Roomba might cause the dock to tilt backward. This prevents the metal contacts from making a solid connection.
The Solution: Place the Home Base on a hard, level surface (like wood, tile, or linoleum). If you must keep it on carpet, consider placing a thin piece of plywood or a plastic mat under the dock to keep it perfectly level.
Step 4: Perform a Soft Reset
Sometimes the Roomba’s internal software gets “stuck.” A quick reboot can clear out glitches that prevent the charging circuit from engaging.
For S and I Series (with a “Home” or “Spot” button):
- Press and hold the CLEAN button for about 20 seconds.
- The light ring will swirl white.
- Wait for the light to turn off (this can take up to a minute). The robot has now rebooted.
For 600, 700, and 800 Series:
Release the buttons when you hear the “reboot” tone.
Press and hold the Dock and Spot Clean buttons simultaneously for 10 seconds.
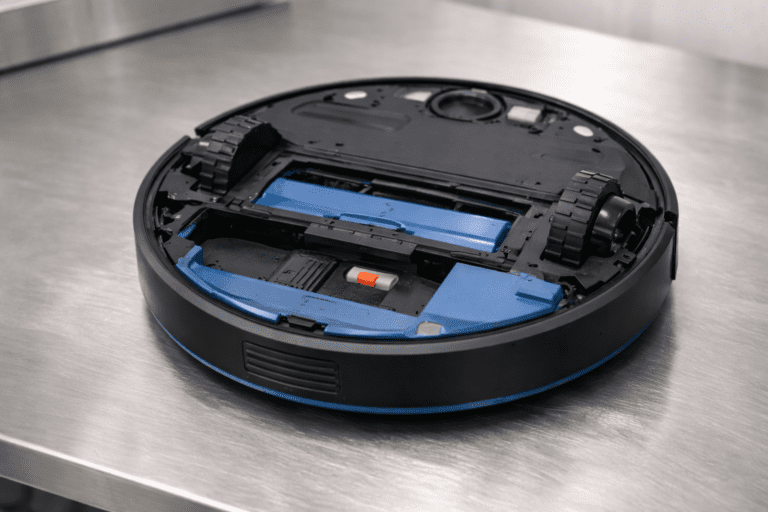
Step 5: Check the Battery Seating
If your Roomba was recently dropped or took a hard tumble down the stairs, the battery might have shifted.
Screw the cover back on and try docking it again.
Unscrew the bottom cover of your Roomba (usually 1–5 screws depending on the model).
Remove the battery.
Check for any dust inside the battery compartment.
Re-insert the battery firmly and ensure the clips click into place.

Step 6: Identify the Error Codes
If your Roomba is pulsing a specific color, it’s trying to tell you what’s wrong.
| Light Pattern | Meaning | What to do |
| Solid Red | Battery is empty | Leave it on the dock for at least 2 hours. |
| Blinking Red | Charging Error 1 | The battery isn’t detected. Re-seat the battery. |
| Pulsing Amber | Normal Charging | Everything is fine! Let it finish. |
| White Ring | Software Update | Don’t move it; it’s updating via Wi-Fi. |
Step 7: When to Buy a New Battery
Batteries don’t last forever. Most Roomba lithium-ion batteries are rated for 2 to 3 years of regular use.
Signs your battery is dying:
- The Roomba “dies” on the way back to the dock.
- The runtime has dropped from 90 minutes to 20 minutes.
- The Roomba charges fully, but the light turns red immediately after it starts cleaning.
If you’ve cleaned the contacts and performed a reset but the Roomba still won’t hold a charge, it’s likely time for a replacement. Always try to buy OEM (Original Equipment Manufacturer) batteries to ensure your warranty remains valid.
FAQ: Common Roomba Charging Questions
Q1: Why is my Roomba light not staying on while charging? Actually, this is normal! On newer models (like the i7 or s9), the light ring turns off after a minute of charging to save energy. To check the status, just tap the CLEAN button once, and it will glow to show the battery level.
Q2: Can I leave my Roomba on the charger all the time? Yes. In fact, you should. Roombas are designed to stay on their Home Base to ensure the battery remains “conditioned” and ready for the next job.
Q3: How long does it take for a Roomba to fully charge? Under normal conditions, a fully depleted battery takes about 2 to 3 hours to reach 100%.
Q4: My Roomba says “Charging Error 5.” What does that mean? Error 5 usually means there is a communication issue between the dock and the bot. This is almost always caused by dirty charging contacts. Clean them with rubbing alcohol!
Q5: Will a factory reset delete my floor maps? Yes, a full factory reset (done via the iRobot Home App) will wipe your saved Smart Maps. Try a reboot (holding the Clean button) first, as that does not delete your maps.
Still having trouble?
If you’ve tried all the steps above and your Roomba is still acting like a brick, there might be a deeper hardware issue with the charging base itself.